
After a recent renovation I wanted to be able to control my newly installed window shutters from my home automation setup using Home Assistant. I found out the installed system is Somfy RTS so after a bit of searching online I found out someone had already reverse engineered the protocol. The transmitter transmits on 433.42Mhz instead of the usual 433.92Mhz that most devices on 433Mhz use. So for optimal range and reception I had to switch the resonator on the tx pcb. This is no issue as the resonator only has three pins:

As I would have an ESP8266 running permanently to control the window shutters I thought it would be nice to add some sensors. I found the excellent ESP MQTT JSON Multisensor project that adds the sensors for temperature, humidity, motion and light.
I combined this with the Somfy Remote project as it has support for multiple window shutters.
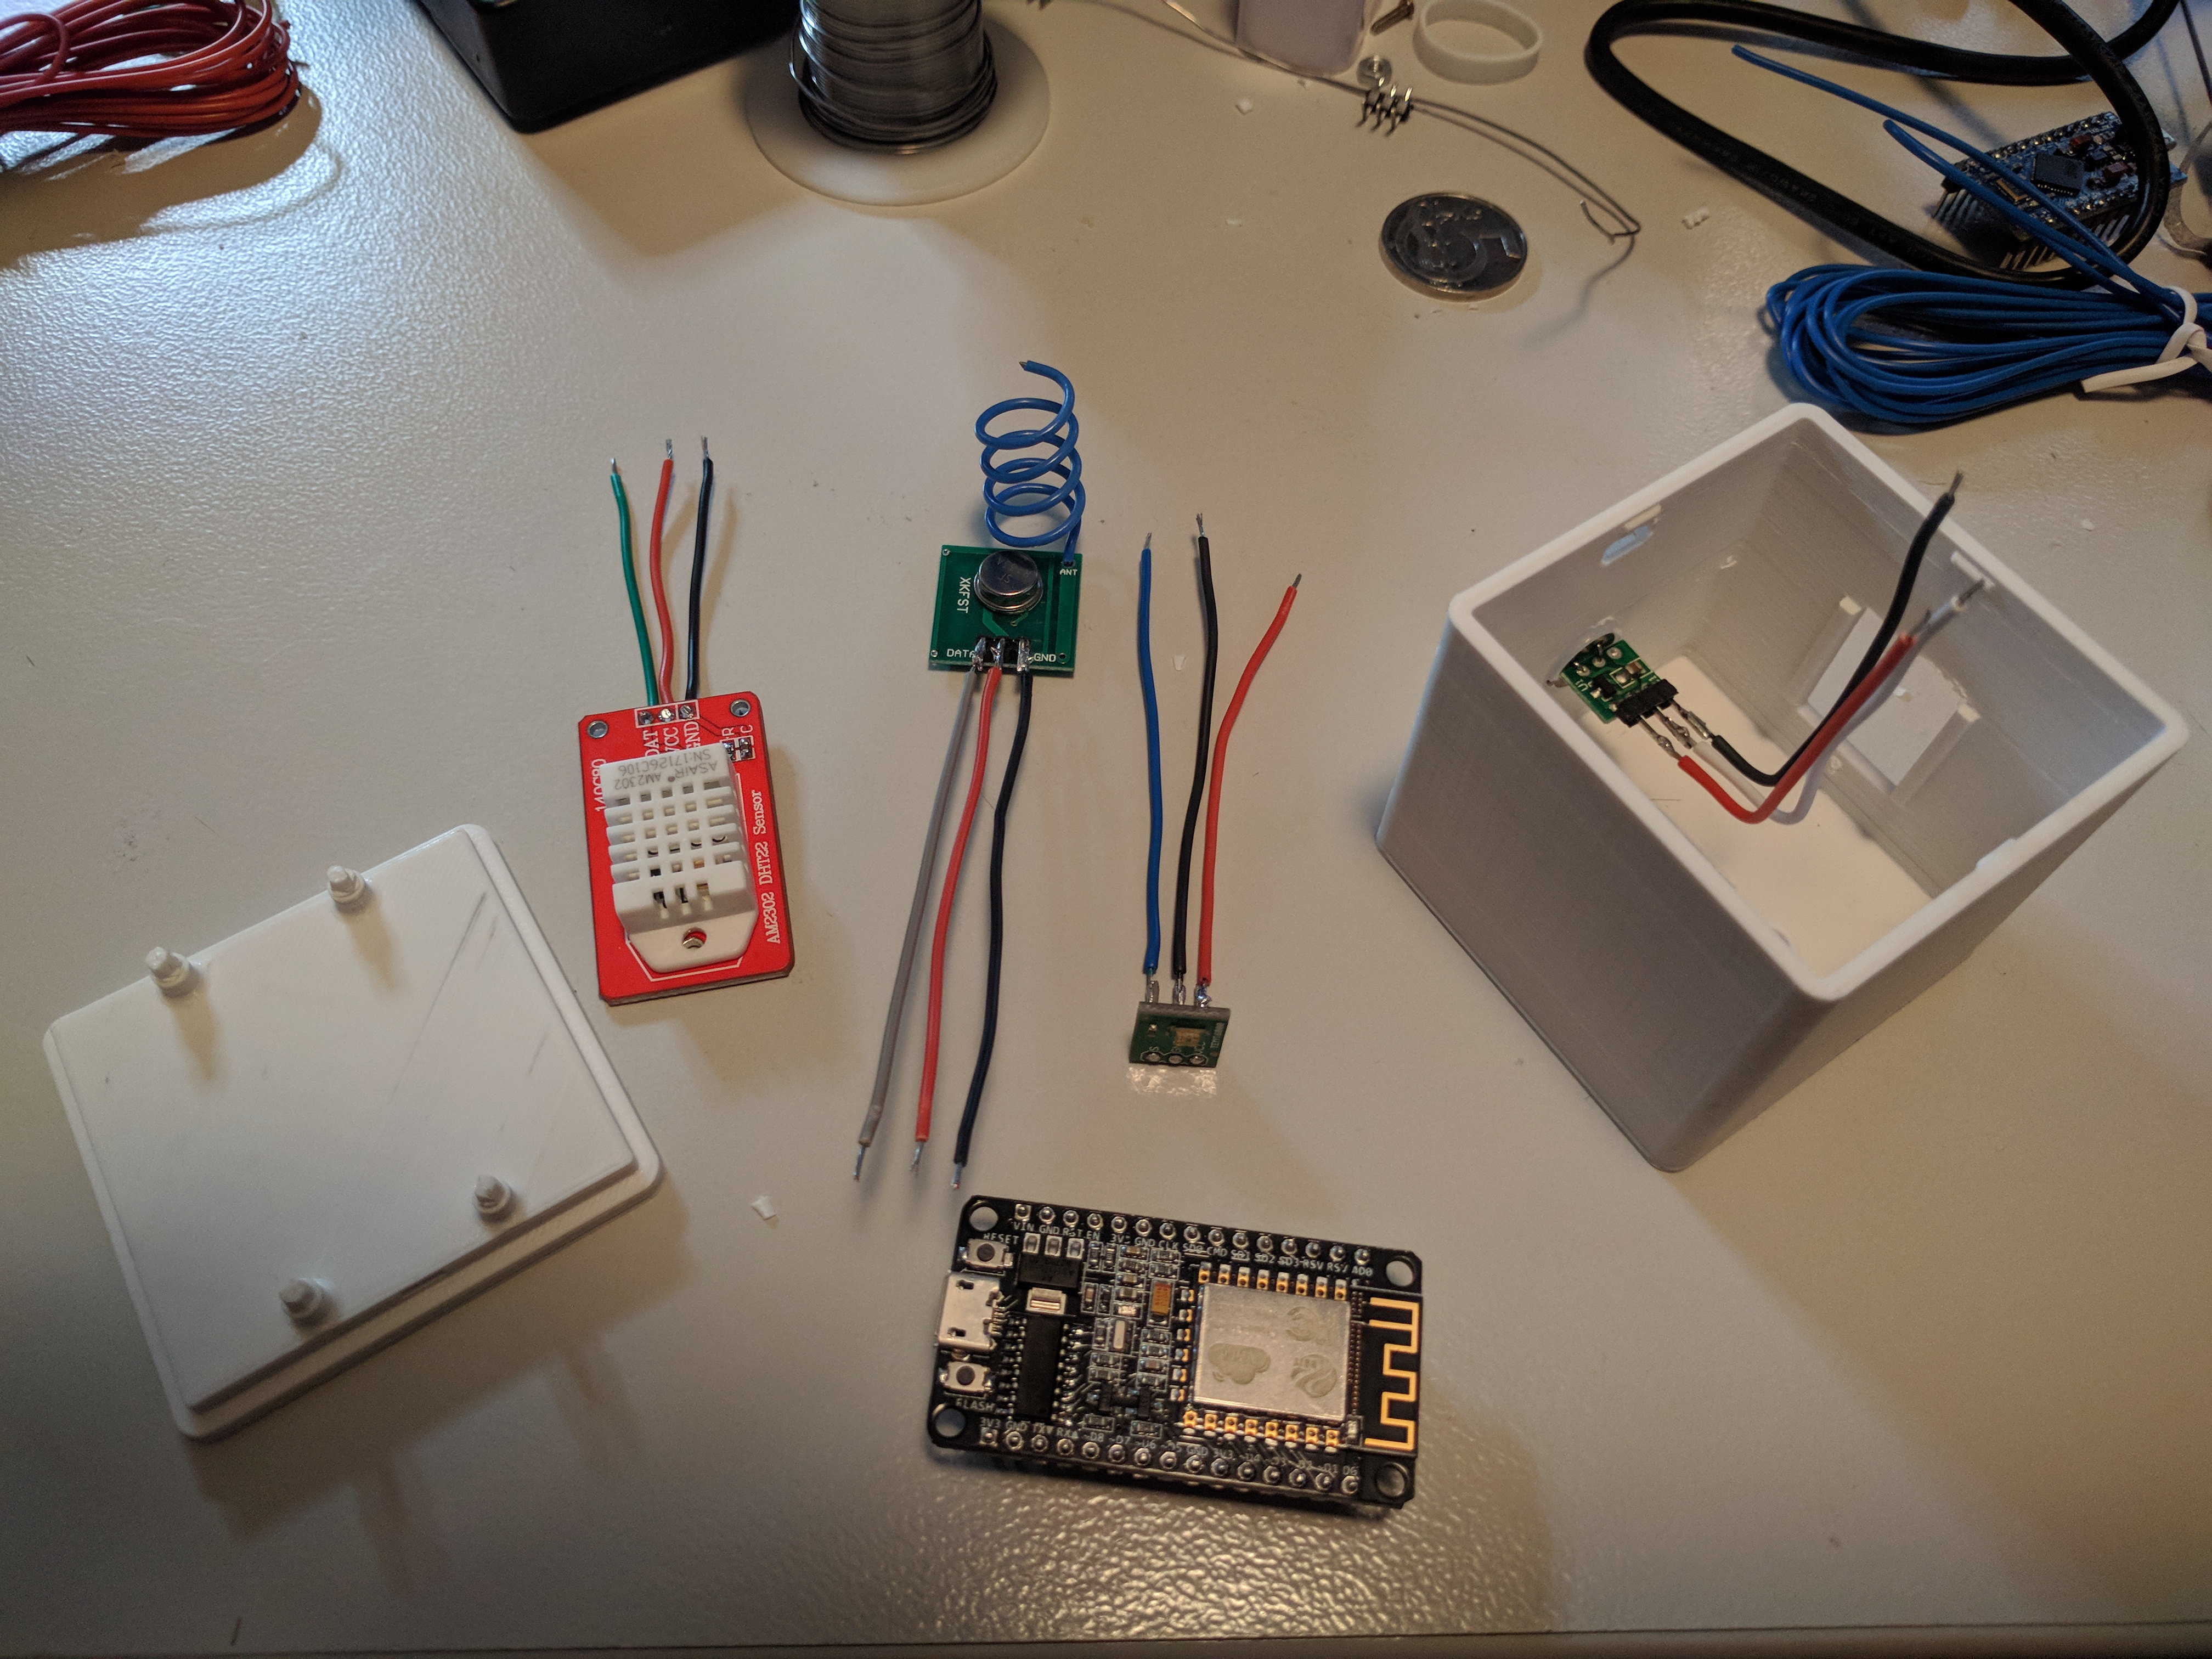
So I ended up with the following setup:
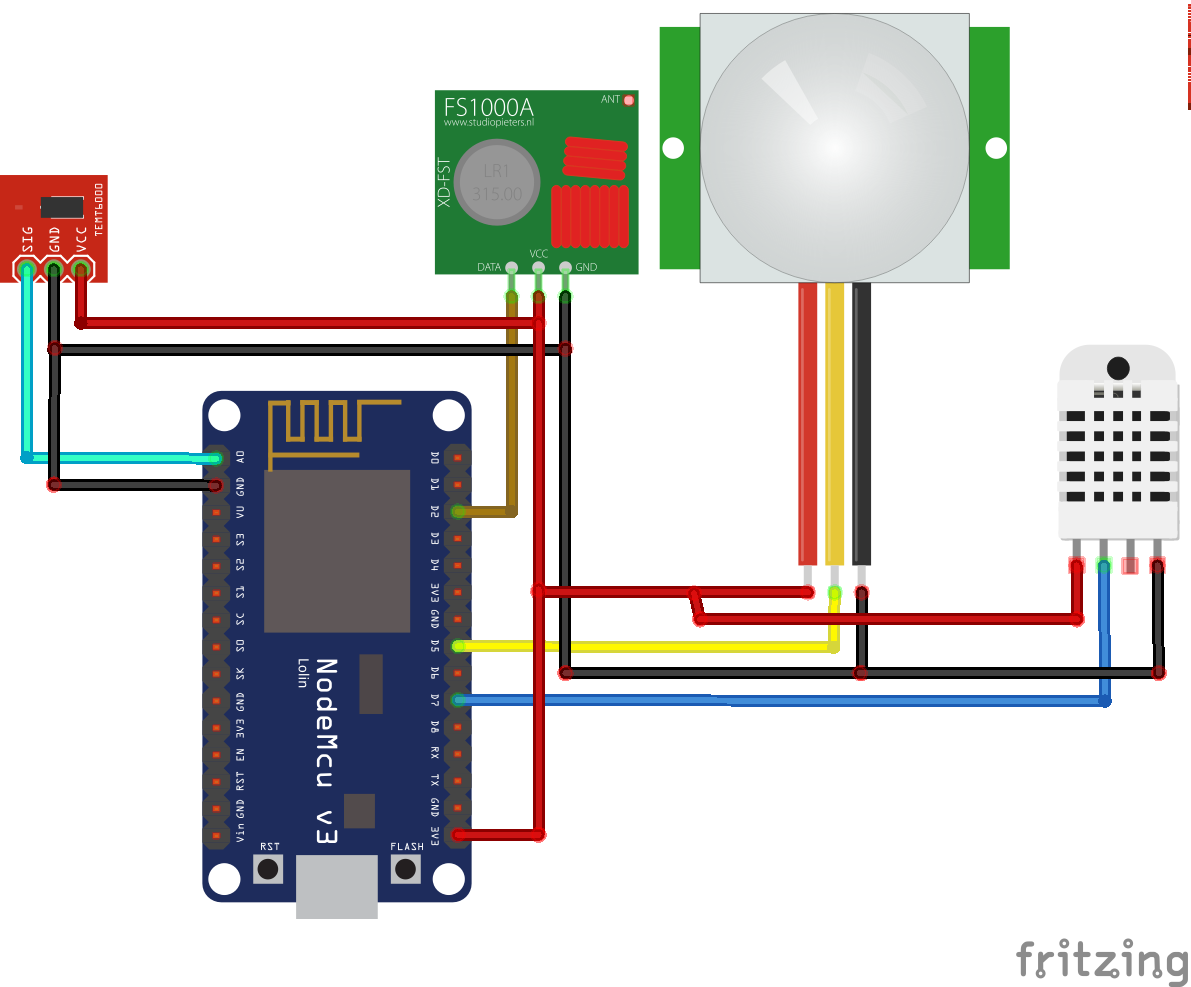
Parts list:
- ESP8266
- DHT22 Temperature And Humidity Sensor
- PIR Motion Sensor
- 433Mhz RF Decoder Transmitter With Receiver
- TEMT6000 Light Sensor
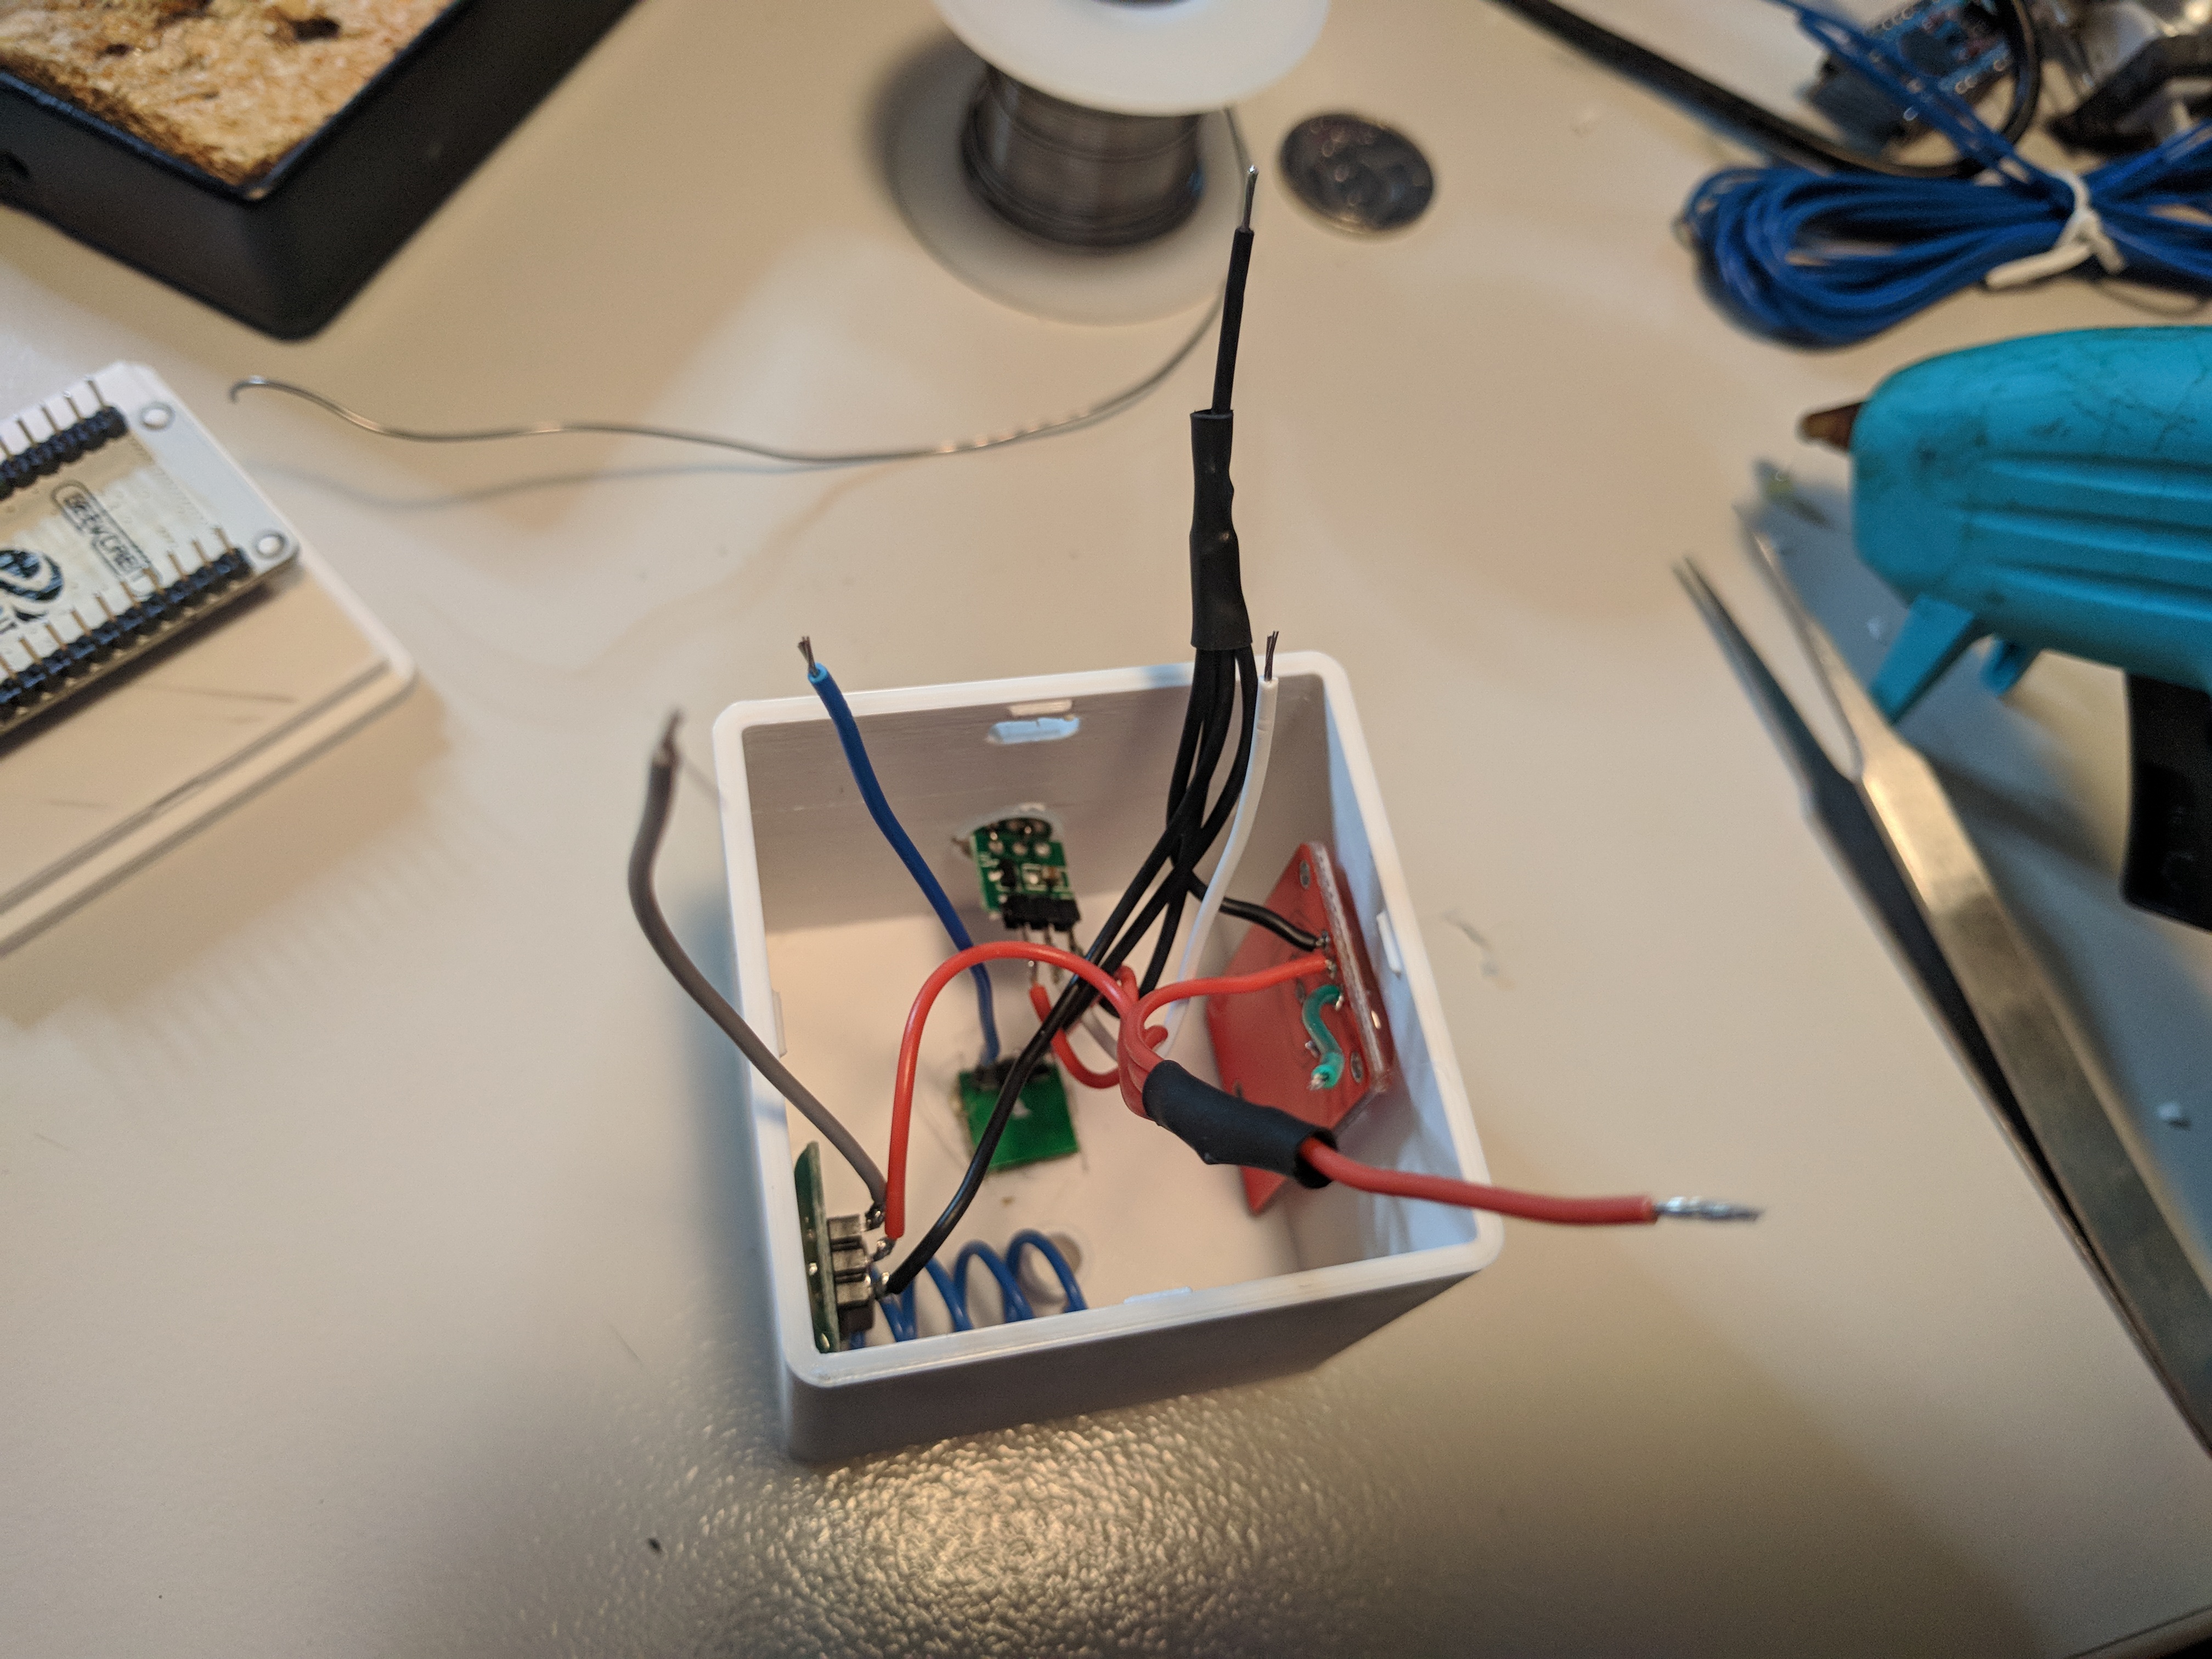
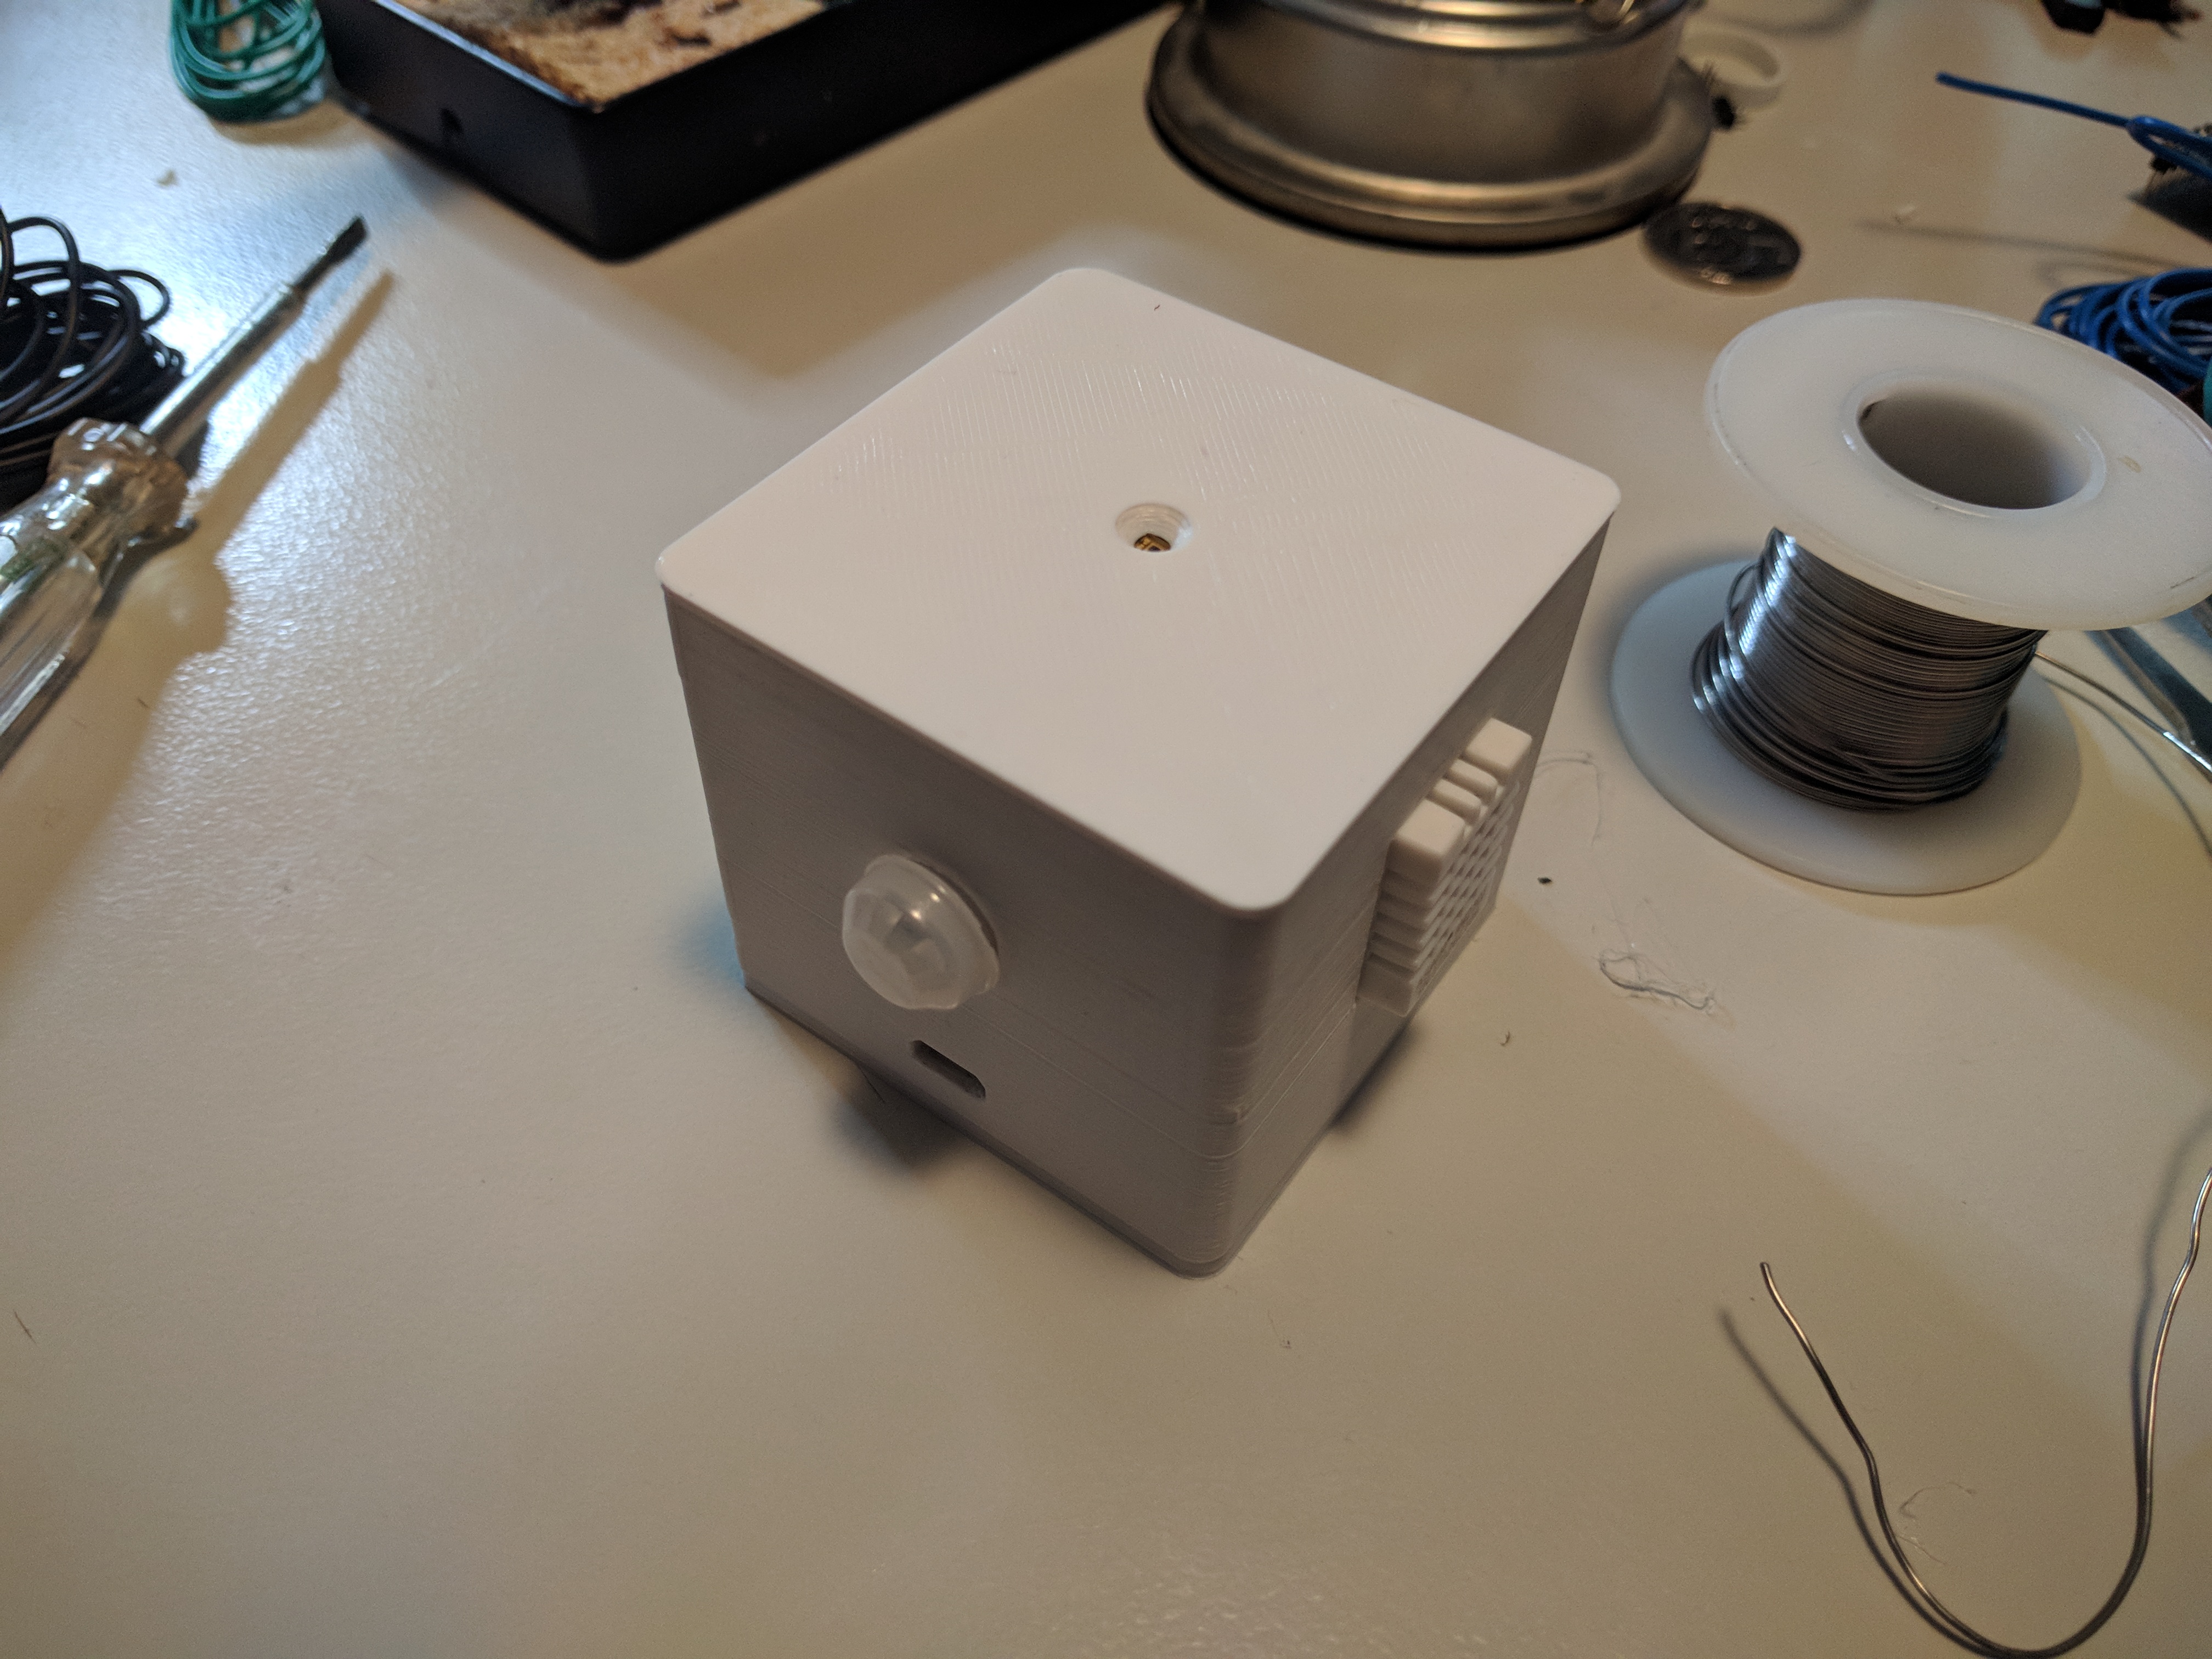
Case
I found a nice case on thingiverse, it comes in two variants with the USB cable on the front or the back.
Home assistant config
Home assistant configuration is quite simple, just add the following for sensors and control, as you can see I am not displaying motion at this moment.
sensor:
  - platform: mqtt
    name: "Attic front"
    state_topic: "home/atticfront"
    unit_of_measurement: '<C2><B0>C'
    value_template: "{{ value_json.temperature }}"
    icon: mdi:temperature-celsius
  - platform: mqtt
    name: "Attic front"
    state_topic: "home/atticfront"
    unit_of_measurement: '%'
    value_template: "{{ value_json.humidity }}"
    icon: mdi:water-percent
  - platform: mqtt
    name: "Attic front"
    state_topic: "home/atticfront"
    unit_of_measurement: 'lux'
    value_template: "{{ value_json.ldr }}"
    icon: mdi:lightbulb
cover:
  - platform: mqtt
    name: "Blinds left"
    command_topic: "home/attic-back/blinds-left"
    state_topic: "home/somfy-remote-attic-back/state"
    qos: 0
    retain: true
    payload_open: "u"
    payload_close: "d"
    payload_stop: "s"
    state_open: "open"
    state_closed: "closed"
    payload_available: "online"
    payload_not_available: "offline"
  - platform: mqtt
    name: "Blinds right"
    command_topic: "home/attic-back/blinds-right"
    state_topic: "home/somfy-remote-attic-back/state"
    qos: 0
    retain: true
    payload_open: "u"
    payload_close: "d"
    payload_stop: "s"
    state_open: "open"
    state_closed: "closed"
    payload_available: "online"
    payload_not_available: "offline"
Software
I combined the two projects I found into one to run it on the ESP8266, that is all I did so all the credits go to the original authors. Code can be found here.
Thx Sander for these explanations. Being a newbie with HA, i was wondering what is the code u publish in MQTT publish service.
I understd u call the the mqtt.publish who you detail the service data you publish. U mentionned the ‘p’ value to program the new remote by mqtt. Tx alot for ur support
Hi Alberti, you can either use the mqtt service inside the HA gui or a seperate progrom like MQTT Explorer: http://mqtt-explorer.com/
Hello, is it necessary to add an antenna tp the tx pcb?
Yes I would think so. Maybe if your rx pcb is really close to the tx pcb you can get away with not adding it but I would add it.
Nice project ! Wondering if you use the orginal remote does it still work or do you have to only use HA with this solution ? I am assuming the latter as it has not receiver to track use of the orginal remote ?
Thanks! Yes the original remote still works. This solution is just seen as a second remote so the original remote works just like before.