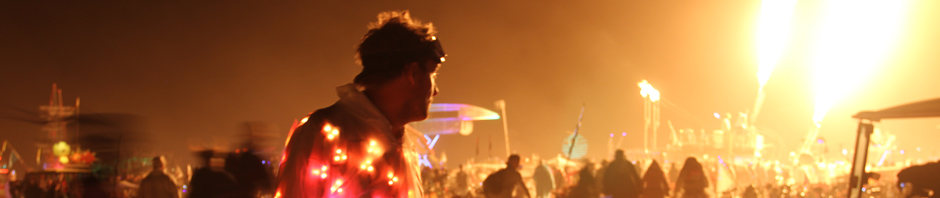
I went to Burning Man in 2010 for the first time and knew I had to have some lights at night as it can be really dark out on the playa. So I bought some EL-wire and attached it to the side of my trousers while I was there. I thought it would be really cool, until I actually went out during the night and found out everybody had EL-wire attached to their clothes.
For Burning Man 2011 I needed something way cooler. So after doing some research I decided to build an RGB LED suit. I found a factory in China that actually sold addressable modules that had 3 5050 smd LED’s on them and that would enable you to control these modules individually, something I wanted to be able to do for a long time.
After an exciting period of waiting if my shipment would actually arrive I was happy to find a box in the mail full of modules.
I decided to use an Arduino to control the LED’s and found a great library called the Fast SPI library by Daniel Garcia. The library is fast enough to drive the 200 modules I wanted use.
Due to to limited amount of SRAM in the Arduino Nano (2Kb) coding the controlling software was quite a challenge as the three levels of color per LED take up 1 bit each so that sums up to 3bits x 200 modules = 600 bytes just to store the current state of the LED’s.
Another issue was storing the patterns in SRAM. I created a two dimensional array to map the number of the LED module to it’s physical location on my clothes. The Flash library by Mikal Hart allows you to use flash memory (PROGMEM) and read it when you need to in an easy way, so that saved me quite a bit of SRAM space.
I first build a prototype of the hardware:

Prototype of the RGB LED controller, using a Boarduino.
I added an LCDisplay and some buttons so I would be able to navigate thru the different patterns I coded and added an MSGEQ7 IC and a microphone. The MSGEQ7 chip is a seven-band audio spectrum analyzer chip. You just pulse a reset pin and then clock out seven analog values that correspond the spectral content in seven bands.
As the LED’s would be all over my body I created a controller what would be mounted to the back of my hand.
So here is another picture of both the prototype and the pcb’s of the hardware I build:

The control panel for the suit
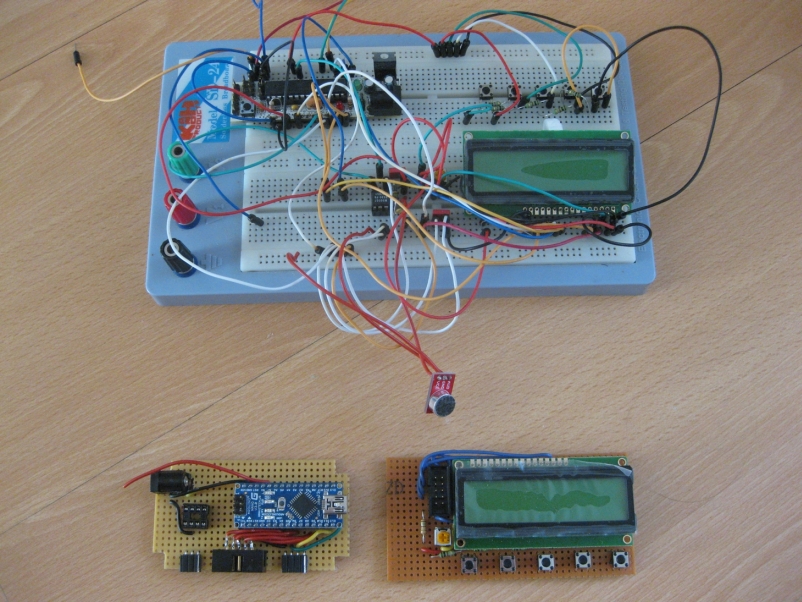
Prototype and build pcb's

Controller inside enclosure
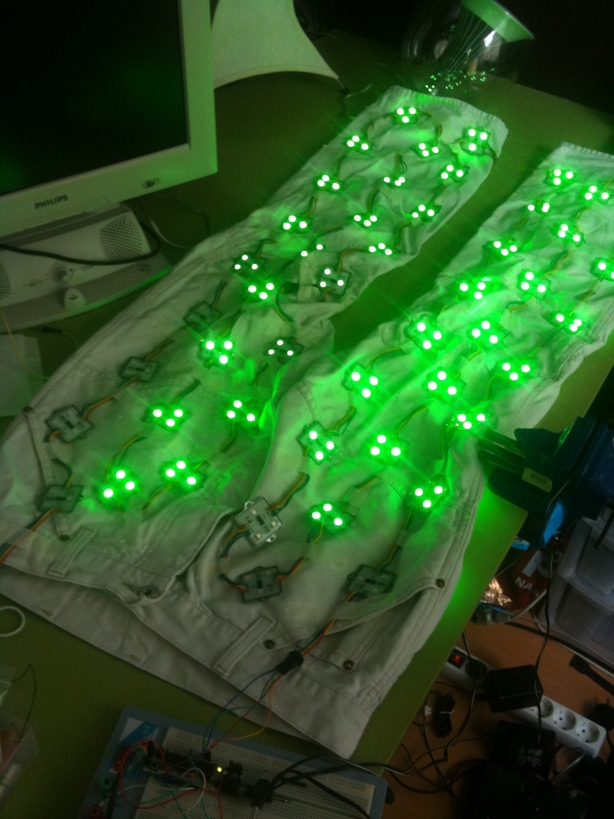
Prototyping the pants
I took the suit to the CCC camp to beta test it but forgot the controller so I rewrote the software while I was there to show a rainbow pattern.

I was surprised that I had no issues bringing the LED suit and the battery packs on a plane
to the states did not give me any questions at airport security.
I programmed quite a lot of patterns for the suit, most of them speed and color adjustable:
– a vertical scan pattern, going up or down or up/down (see video below)
– random fading up and down
– white sparks on/of random also
– rainbow (see video below)
– a special pattern that I can trigger when someone shakes my hand that makes my suit start to glow from that hand to the rest of my body
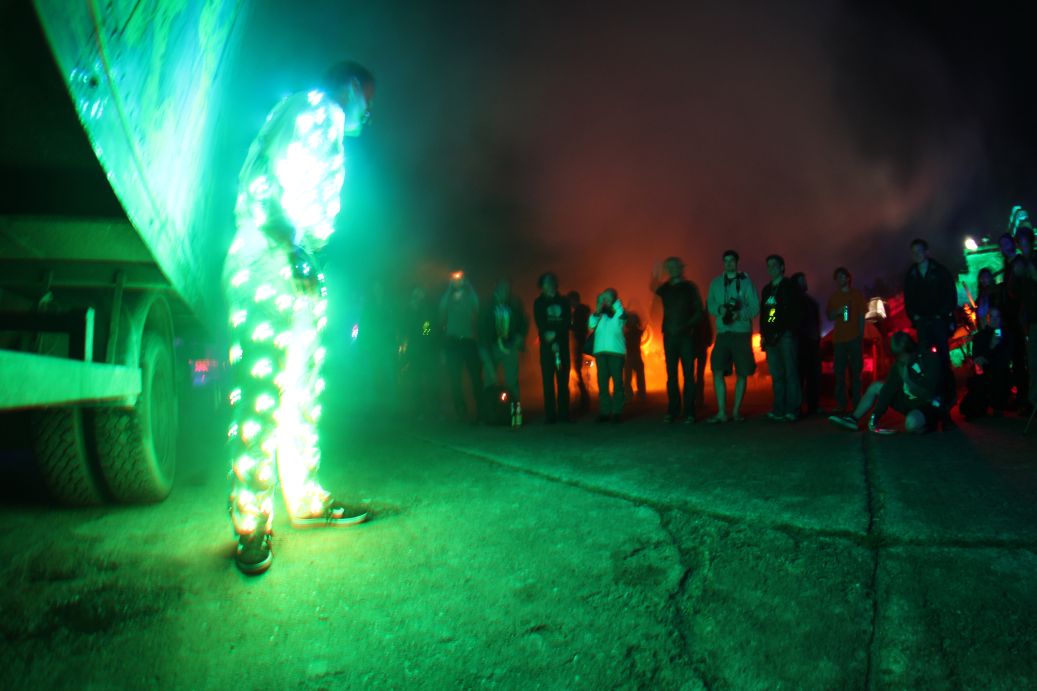
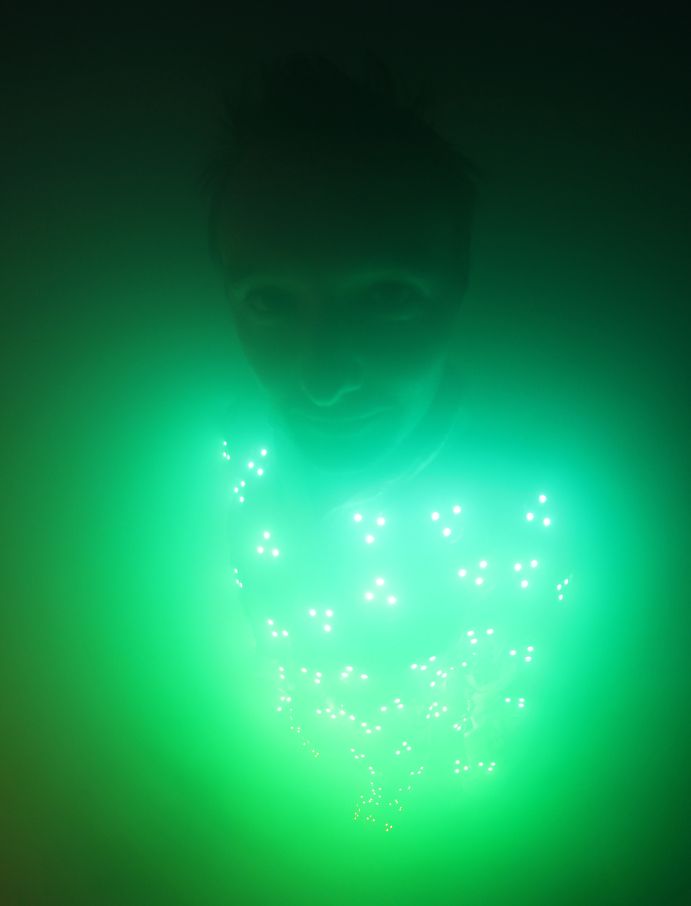
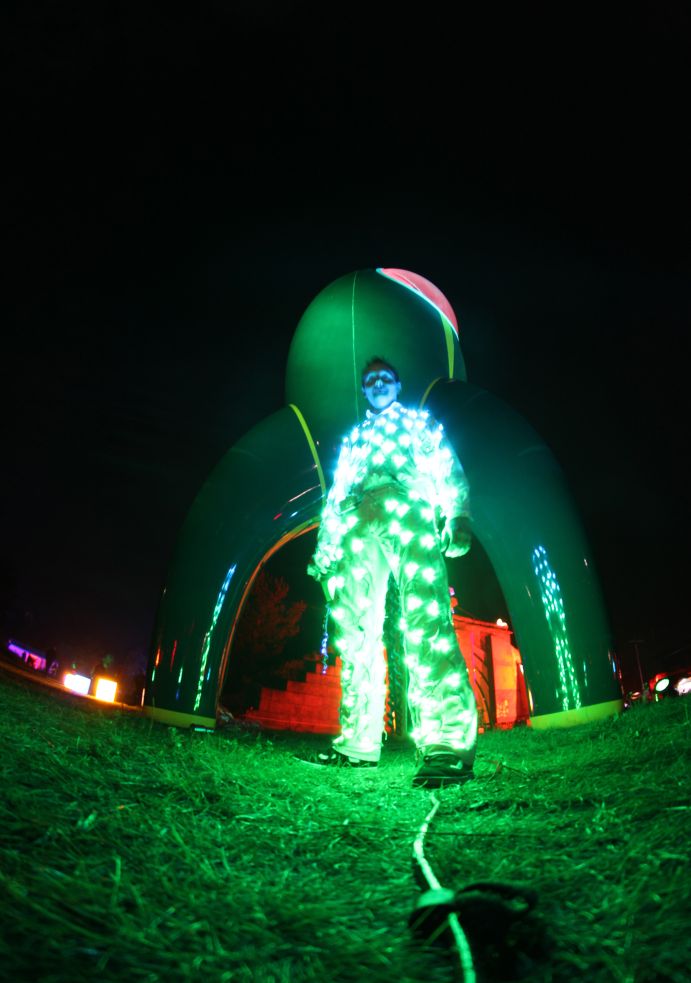
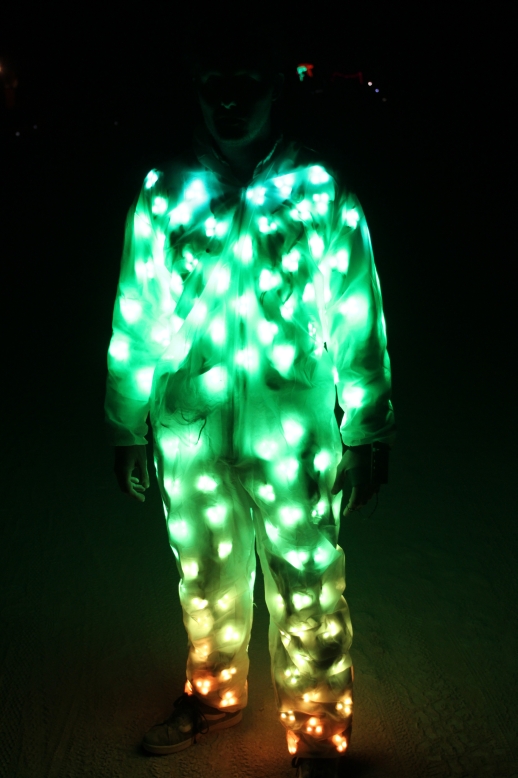
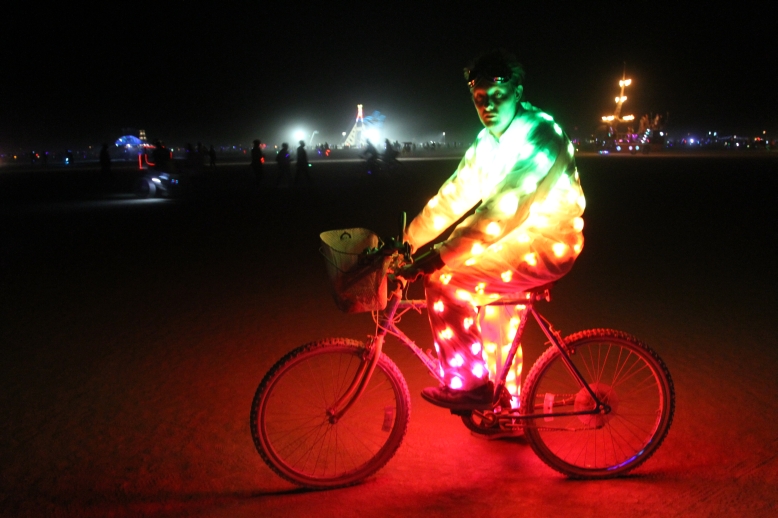
The reactions to the suit were amazing I had so many people wanting to take a picture with me or just thanking me for the suit. Using the pattern with the handshake to thank them back was alot of fun, seeing the amazement in their eyes 🙂
Here is me in my suit at Burning Man 2011:

Pingback: Contest Entry: RGB LED Suit - BuildLounge » BuildLounge
That’s way cool… Do you have any footage of your LED handshake?
Thanks! Yes, sort of, look at the beginning of this video:
http://vimeo.com/33689838
Hi, would you mind somehow linking to those LED pixels? They look aces – so is it 3 rgb leds in one module? I’ve seen those about, but I’ve always thought they were r, g and b, respectively, making them “circus out” a bit.
cheers.
i’m interested in these LED pixels too. how many volts and amps did each one pull? how many batteries did you have in your pockets?
The Arduino runs on 12V and if all leds are off the drivers consume about 600mA. When the LEDS are at full brightness they consume about 1.5 Amps. I had 2 li-ion packs with me.
Awesome suit! I’m going to be trying something with a similar amount of LEDs. What kind of battery packs did you use? I can only seem to find li-on ones specifically for laptops!
I bought them at dealextreme.com, the strongest 12v packs they have. Don’t take their amp ratings serious, they are not as strong as advertised. looking forward to see your creation!
How do you think the tesla coil was affecting the patterns on the suit? Was it just the sound on the spectrum analyzer or something else?
I’m not sure but I think the Tesla coil is emitting a really strong AM signal.
Pingback: Smother yourself in addressable LEDs - Hack a Day
Hey, I remember meeting you on the playa and being impressed with your suit. I’m glad I found my way to this post, I’ve been looking for you on the web with no success.
I’ve been playing with my own version of this using Chris DeVries’ SPI library as a starting point, but I’m really just getting started. Here’s a youtube of what I’ve got so far: http://www.youtube.com/watch?v=U8EDhxrtGJc
Hi Ralph, how great that you did manage to find me in the end. Finding people you meet on the playa can be really hard!
You suit looks great, look forward to see what patterns you come up with! You’re leaving the back of your suit
dark?
Pingback: Smother yourself in addressable LEDs -Via Hack a Day | OverView-Effect
Hey Sander, this suit is by far one of the best models I’ve seen out there. I’m really wanting to build one for this upcoming voodoo fest in NoLa. Do you think you could take the time to show me parts list and steps to build one? I’ve been reading over the steps you state in the blog, I’m just not there in the electronics dept. Seriously rad suit though. ghbollinger@yahoo.com really hope to speak with you soon.
Thanks for your comment. I send you an email.
Hi Sander,
I didn’t make it to the Playa but attend Burning Flipside quite a bit. I love your suit concept and have been wanting to build similar LED nets for costumes and holiday displays. I’ve been looking for reasonably priced smart LED’s. Could you share your parts sources? I can write the Arduino code with external SRAM storage but would love to see how you wrote your mapping functions versus display functions. Would you be willing to share your code? Thanks for sharing your project.
michael@michael-morlan.net
Michael
Hi Michael,
Sorry for the late reply, I was on holiday and forgot about your post. I got the LED’s via alibaba.com.
My code is still quite messy so I don’t think sharing would help you very much but the mapping is quite
easy. Write a two dimensional array where you map out the position of the LED’s. This is required as the
string of LED’s will be going up and down your clothes and thus if you would like to address all the LED’s
at the bottom of your pants you need the numbers of the LED’s at that location. That is where the array
comes in handy. Ones you have mapped the LED’s in the array you can go over it in a loop and turn all the
LED’s on/off to get an up/down pattern of light as displayed in one of my video’s.
Hope this helps. Your work on your site looks great!
Kind regards,
Sander
Rocking! I saw you there. I had my own suit with 250 LEDs.
http://anthrolume.wordpress.com
See you next year!
I missed this year but was there last year and the year before. Just took a look at your site, amazing suit and great writeup! So what’s up for 3.0? 🙂
In regards to your Burning Man RGB LED Suit.
I’m very interested in building one of these suits for myself!
I’m a third year Electrical Engineering student and find this stuff amazing!
I have all the parts and have controlled a bunch of LEDs before but never this model.
I was wondering if you could tell me which factory or online store you bought your LEDs from. You mentioned in your Burning Man RGB LED Suit blog post “I found a factory in China that actually sold addressable modules that had 3 5050 smd LED’s on them and that would enable you to control these modules individually…” I would like to make a summer project out of this idea and was hoping I could get some pointers as well from you as to how to go about perfecting this project?
Thank you for your time, and I hope to hear from you soon, even though I guess this is about two years later from you creating your own suit.
-Toresen
Hi Toresen,
Great to hear you are trying to build suit for yourself.
I bought the LED’s at alibaba.com from a company called RightLeds
but there are many suppliers now and it might be easier to source
the LED’s at aliexpress.com. Just be sure to check the voltage as there
are both 5V and 12V strips for sale.
Please note that there are some things to consider when choosing the
amount of LED’s, for example the power consumption,
the CPU power needed and the amount of memory required to store the
patterns as well as to keep the current state in memory and the total weight
of the suit of course.
What pointers do you need? If you have any questions in programming or
electronics I may be able to help you with please don’t hesitate to ask.
Would love to see pictures of both your work in progress and the end
result.
Kind regards,
Sander
Hello again,
Thank you for the fast reply, sorry for the delay, I’ve been busy with my new gadgets here.
I bought 200 LED Pixels from a company called Adafruit. I have an Arduino Uno as well to control them, for now.
I believe the only difference between my strands of LEDs and the ones you used are that mine are a 4 5050 LED square instead of the 3 LEDs per pixel.
With saying that, you mentioned to consider the power consumption. Each pixel will draw a peak current of around 120 mA so my guess is if I was to turn on all 200 LEDs (at full brightness / bright white (40 mA per R,G,B )) I would need to supply around 24 Amps at the 12 Volts in order to power all 200 LEDs to white. Now I understand that with the animations and color effects I could easily cut this in half.
However, what did you use to power your suit? I was referred to a LiFePO4 battery pack from a friend who didn’t really quite understand the scope of this project. With you building one and having the experience, what would you recommend? What is your current setup? (Do you have multiple packs that you swap out when needed?)
For pointers with building this suit here, did you hit any walls when designing or layout issues with your suit that you would recommend for one to avoid? Ex. I am going to use velcro tape to attach the Pixels to the clothing itself so I can wash them when needed.
For the programming side of this project.
I currently aligned the LEDs in a way where I have 10 col and 20 rows around my body then mapped them each to a matrix or 2D static initialized array / raster which keeps track of the pixels indices.
From there, as far as my programming mind can think of (1 yr of a C / C++ course) I am animating my suit with painfully dry animated patterns. Such as, scrolling lines or running color wheels… etc.
How did you personally control your Pixels? Do you have any tricks or tips as to a fun way to animate the suit in an interesting way? Whether that be the pattern or the code / sketch itself?
I am currently limited to expanding the progress of building this suit due to not having enough power to supply more than two or three strands at a time. I’m just using a basic power supply adapter from the wall with a 2A rating… But when I figure out a more permanent mobile rechargeable power source I will track my status on the build process, and share my LED suit as well.
-Toresen
Sorry for the long post.
If you’d like or if it would be easier, please feel free to respond to my email at toresen.golberg@email.wsu.edu
Thank you, I look forward to hearing from you.
-Toresen
Hi, sorry for the late reply.
At full power your suit will draw way too much power to be able to walk around with it.
Maybe you can test the power consumption at about 50% of the brightness per module?
I found that the difference between 100% and say 70% is barely visible and saves a lot
of power.
I used cheap battery packs that run on 12V and are supposed to output 9800 mAh:
http://dx.com/p/high-capacity-9800mah-rechargeable-external-battery-black-116268
But I don’t think they are really the listed capacity. I bought 4 of these and was
able to use my suit for most of the night by switching between the packs.
They do take a lot of time to charge, about 16 hours…
You could try to run your leds off the 11.1v lipo’s or nimh used in RC hobby battery
packs, that might also work? I also found battery packs that look great but are
also quite expensive:
http://www.deben.com/tracer-battery-packs.html
For the design you may want to try to layout the leds on your suit in a way that
you end up with an equal amount of leds at every vertical height of your suit.
This makes mapping the leds in software simple using a two dimensional array.
The velco is something I forgot myself so you suit will be alot easier to clean 🙂
Keep in mind that you need to be mobile in your suit so make sure the wires are
not too tight, especially around your knees and elbows etc. Resupply power along
the string to be sure all leds are equally bright.
I coded animations by first mapping all the leds into a two dimensional array.
That way a simple ‘night rider’ up and down pattern is done by looping over the
outer array and turning on all leds in the inner array (and turning off the leds
you turned on the previous iteration over the loop). I also used this array to
make the color cycling rainbow effect that alot of people seem to like as well
as the sound reactive pattern vu meter. The handshake pattern was hand coded.
If you need more power a cheap source is to hotwire a pc power supply, connect
the green wire of the atx connector to ground (google it).
But I think you should find a way to reduce your power consumption so you can
be mobile and your suit will last longer. I did all my testing on a 12V 2A power
supply.
Looking forward to see your suit!
Sander
Thanks, that all helps a lot!
I have a few basic patterns preset such as the color sweep, rainbow, diagonal bars.. etc. Anything that I could make on a 10×20 2d array. However, I was wondering if you knew how to program a sketch that would appear as if the suit had random splotches of light flicker? Link: https://www.youtube.com/watch?v=6iGzmaXKYKQ How could I do this with the LEDs? Do you have a sketch that displays this that I could look at? or a direction to head down for me to test this myself?
Oh, great idea about the brightness settings!
Thank you.
My sketch has zero comments and is not an easy read but the random effect is not hard to create.
Determine the maximum amount of LEDS I want to be on at any time
(I can change this max on my remote), lets call it maxleds
Something like this:
int maxleds = 20;

int usedleds = 0;

byte r;

byte c;
while (1) {
while (usedleds <=maxleds) {
r = random(TOTAL_LEDS_IN_SUIT); // pick a random led
// skip an LED if it is still in use aka glowing
if (leds[r].r == 0 && leds[r].g == 0 && leds[r].b == 0) {
usedleds++;
}
}
for(c=0; c<TOTAL_LEDS_IN_SUIT; c++) {
// pseudo code:
// pick a random color and store it in a seperate array
// that has the size of the max leds in your suit
// store a direction bit for each led that is in used
// now loop over all your leds in your suit and
// depending on the selected color make the value of one or
// more rgb values a bit higher (color++)
// until it reaches a max color value you set
// then flip the direction bit so it will start to decrease
// that color value until you reach 0 again
// then do usedleds-- so other leds will be used
// add delay for the desired glow speed
}
// send new values to suit aka FastSPI_LED.show();
}
}
By using the second loop all leds get updated every time the loop is passed.
I also set all leds to a random start value so all leds will be at a random
start brightness.
Hope this makes any sense.
Hello
I would like to get some information with regards to a project I’m working on. I would like to have LED strips built on to our cheerleader uniforms for a performance. I’ve attached a video to give you a better understanding of what I am trying to accomplish. I would like to use the idea for a cheerleading performance at my university. I want to go all out for a win and I believe this concept will give us an edge.
Thank You
Damion
LINK TO VIDEO—> https://www.youtube.com/watch?v=FW0eqLqt7n8